Wallpaper Removal and Installation in Harrisonburg: A Step-by-Step Guide


Understanding Wallpaper Types
Before diving into wallpaper removal and installation, it's crucial to understand the type of wallpaper you're dealing with. Wallpapers can be vinyl, fabric, paper, or a combination of materials, each requiring different removal techniques. Knowing your wallpaper type will ensure you use the right tools and methods for a smooth process.
Gathering the Necessary Tools
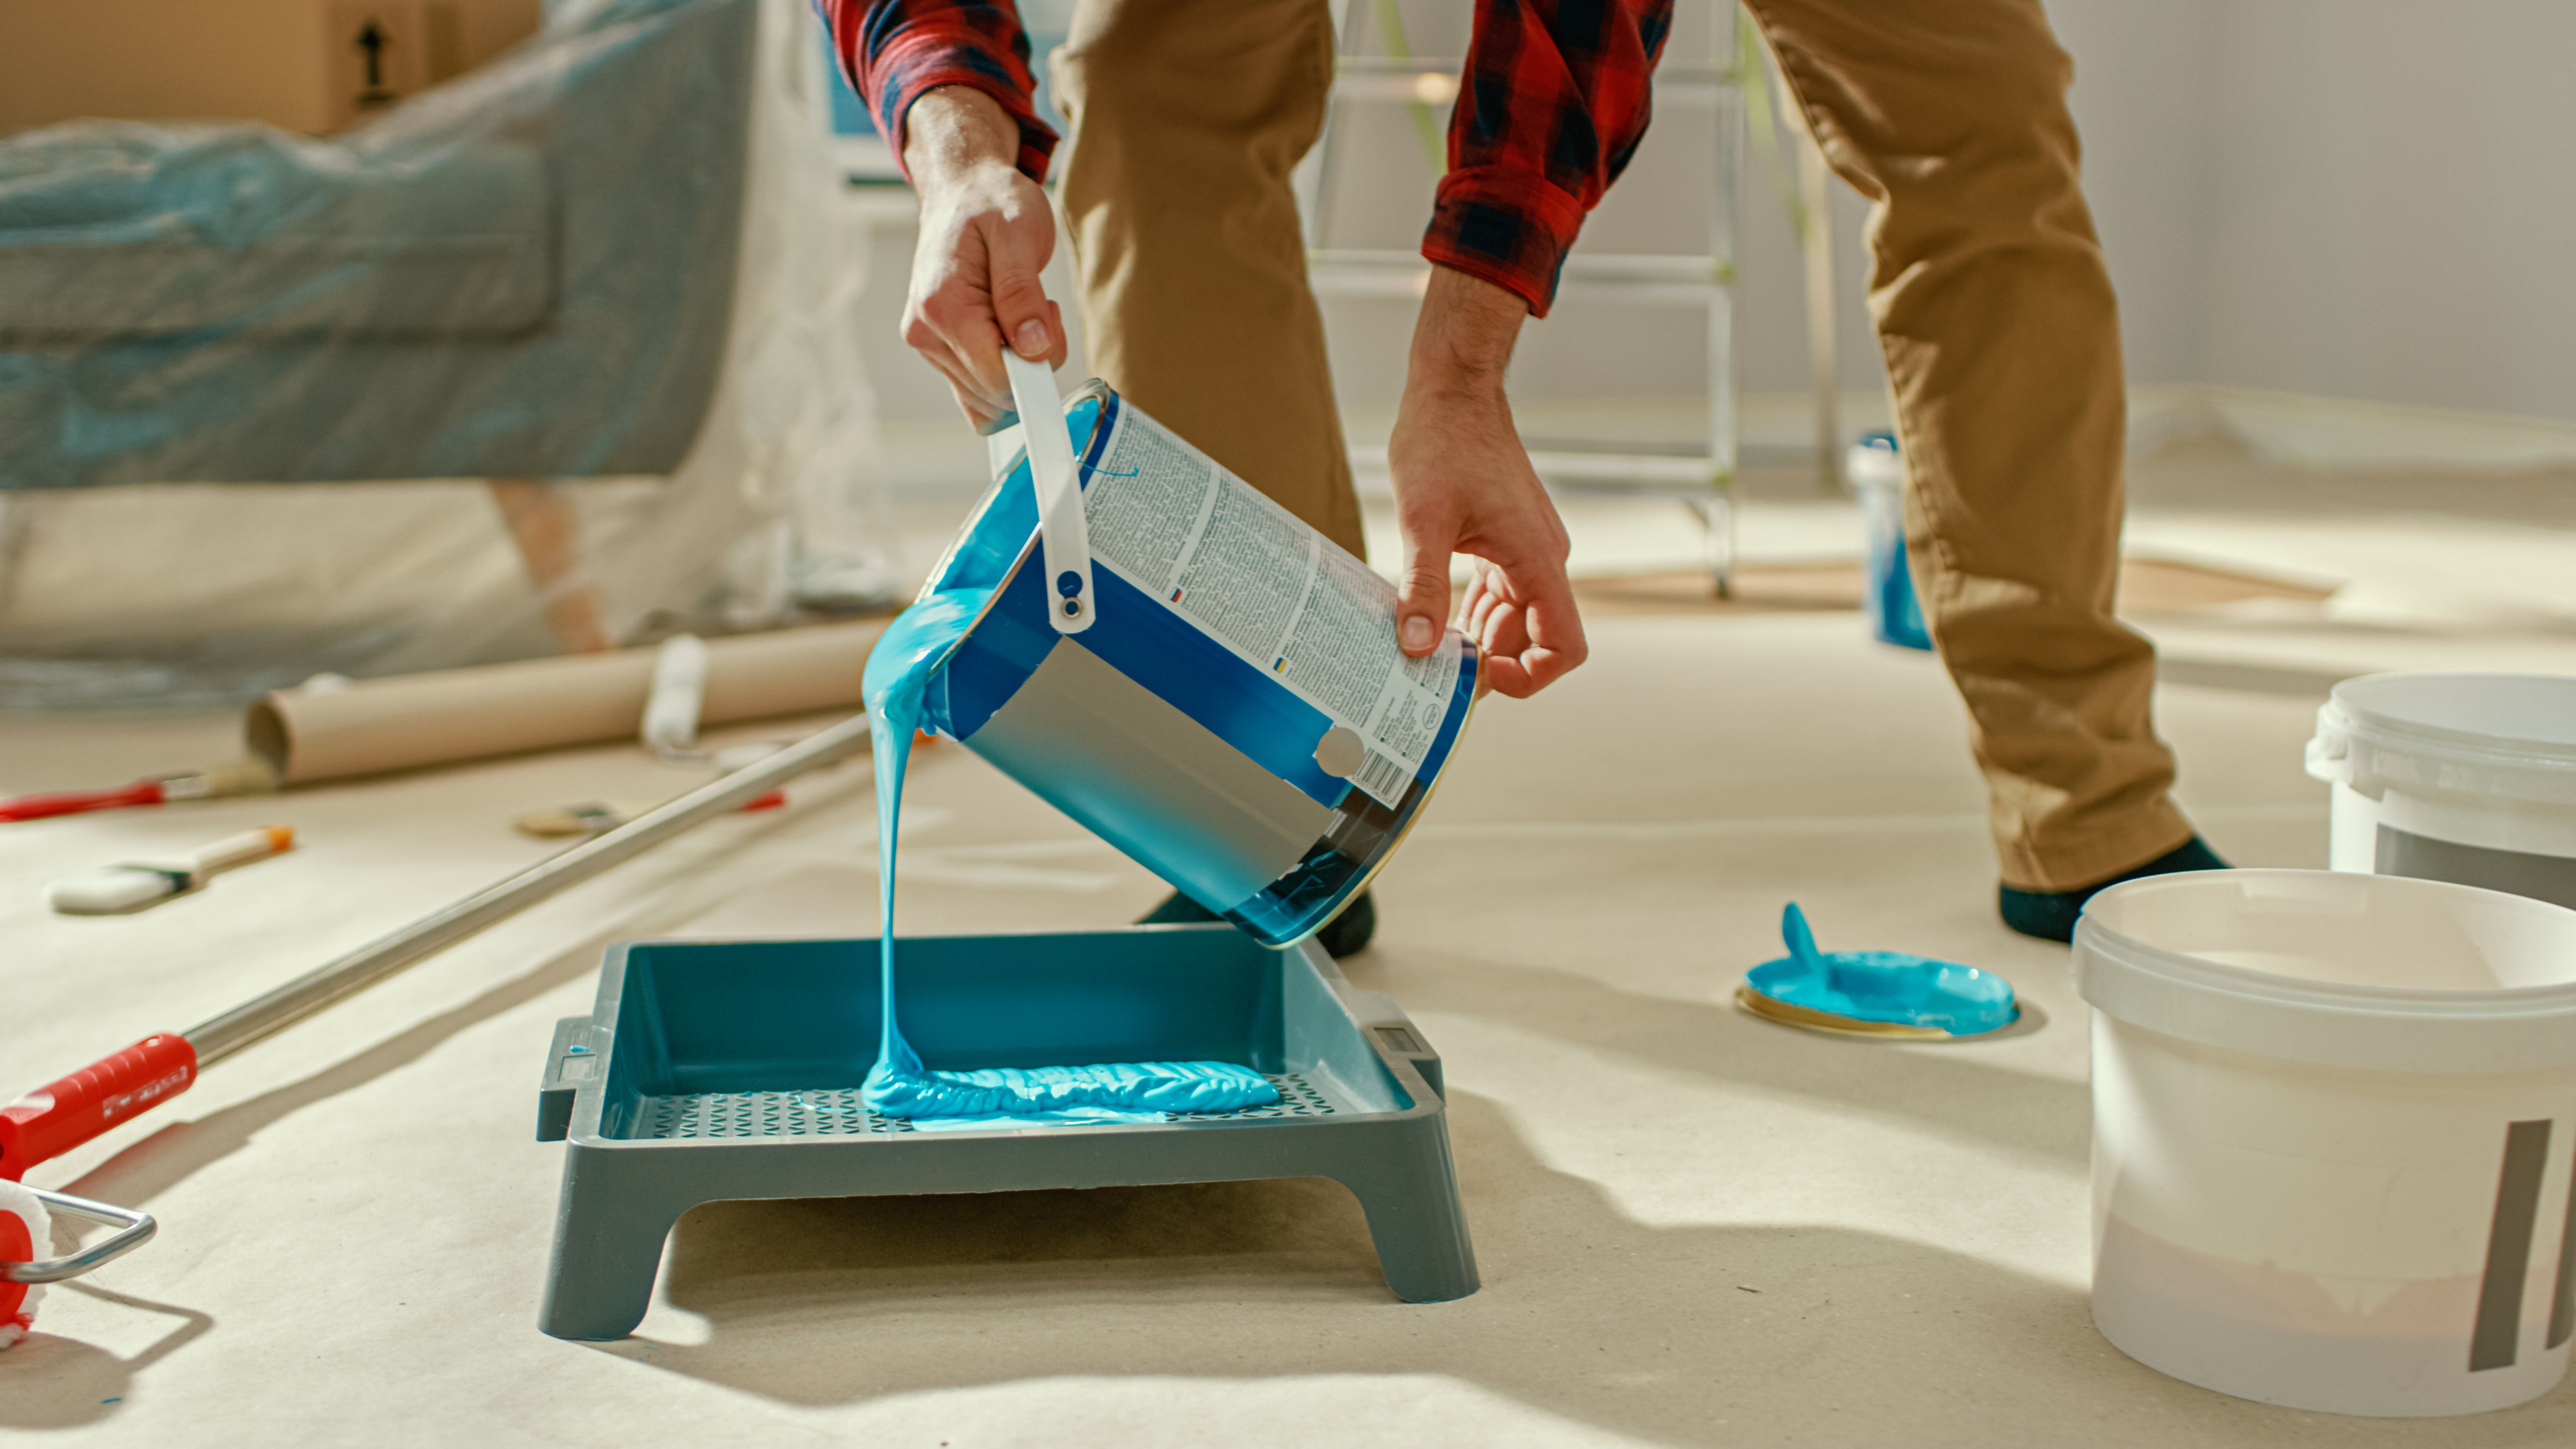
Having the right tools on hand can make a significant difference in both the removal and installation processes. Essential tools include a wallpaper scraper, utility knife, sponge, bucket, and wallpaper adhesive. For removal, a scoring tool and a steamer may also be necessary.
Removing Existing Wallpaper
The first step in wallpaper removal is to prepare the room by moving furniture and protecting floors with drop cloths. Once the room is ready, use a scoring tool to perforate the wallpaper. This step allows moisture to penetrate and loosen the adhesive beneath.
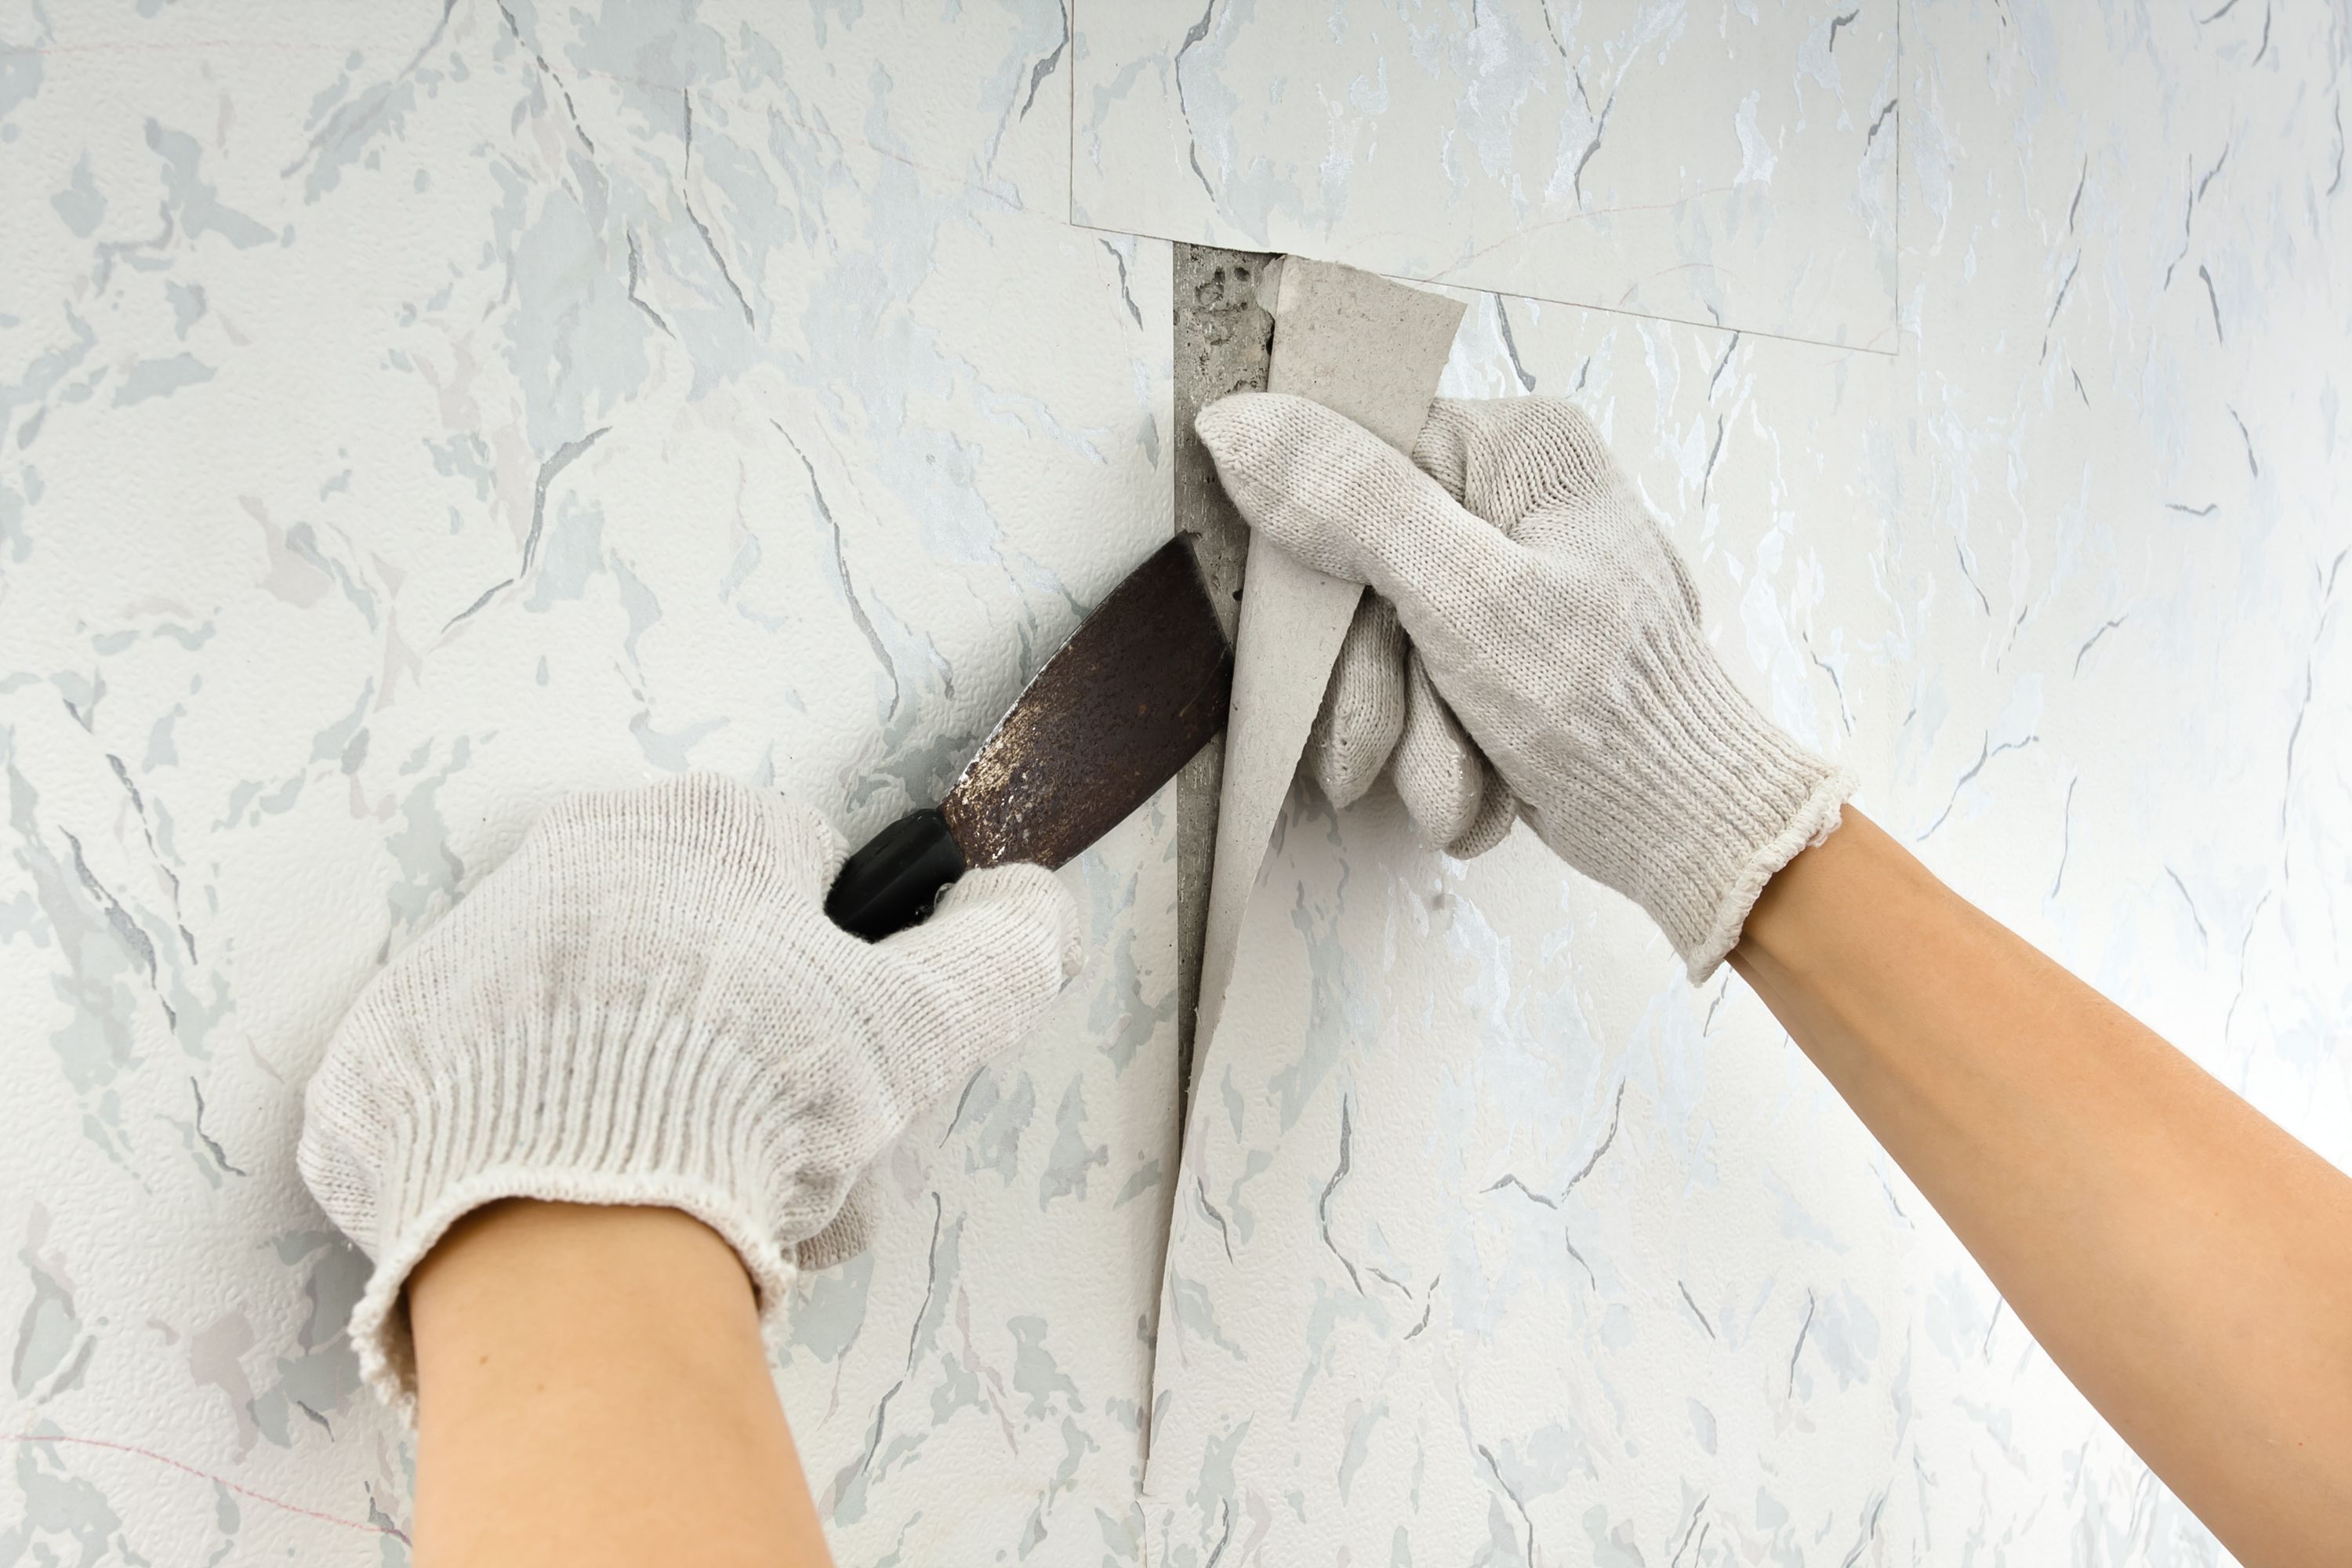
Next, apply a mixture of warm water and wallpaper remover solution using a sponge. Allow it to soak for about 15 minutes before gently peeling off the wallpaper with a scraper. For stubborn areas, a steamer can help ease the removal process.
Preparing Walls for New Wallpaper
Once the old wallpaper is removed, it's crucial to prepare the walls for new paper. Start by washing the walls with soapy water to remove any adhesive residue. Repair any damages or holes using spackling paste and sand the surface until smooth for a flawless finish.
Choosing the Right Wallpaper
The choice of wallpaper can drastically alter the ambiance of a room. Consider factors such as color, pattern, and texture that complement your interior design. It's also important to measure your walls precisely to determine how many rolls you'll need.
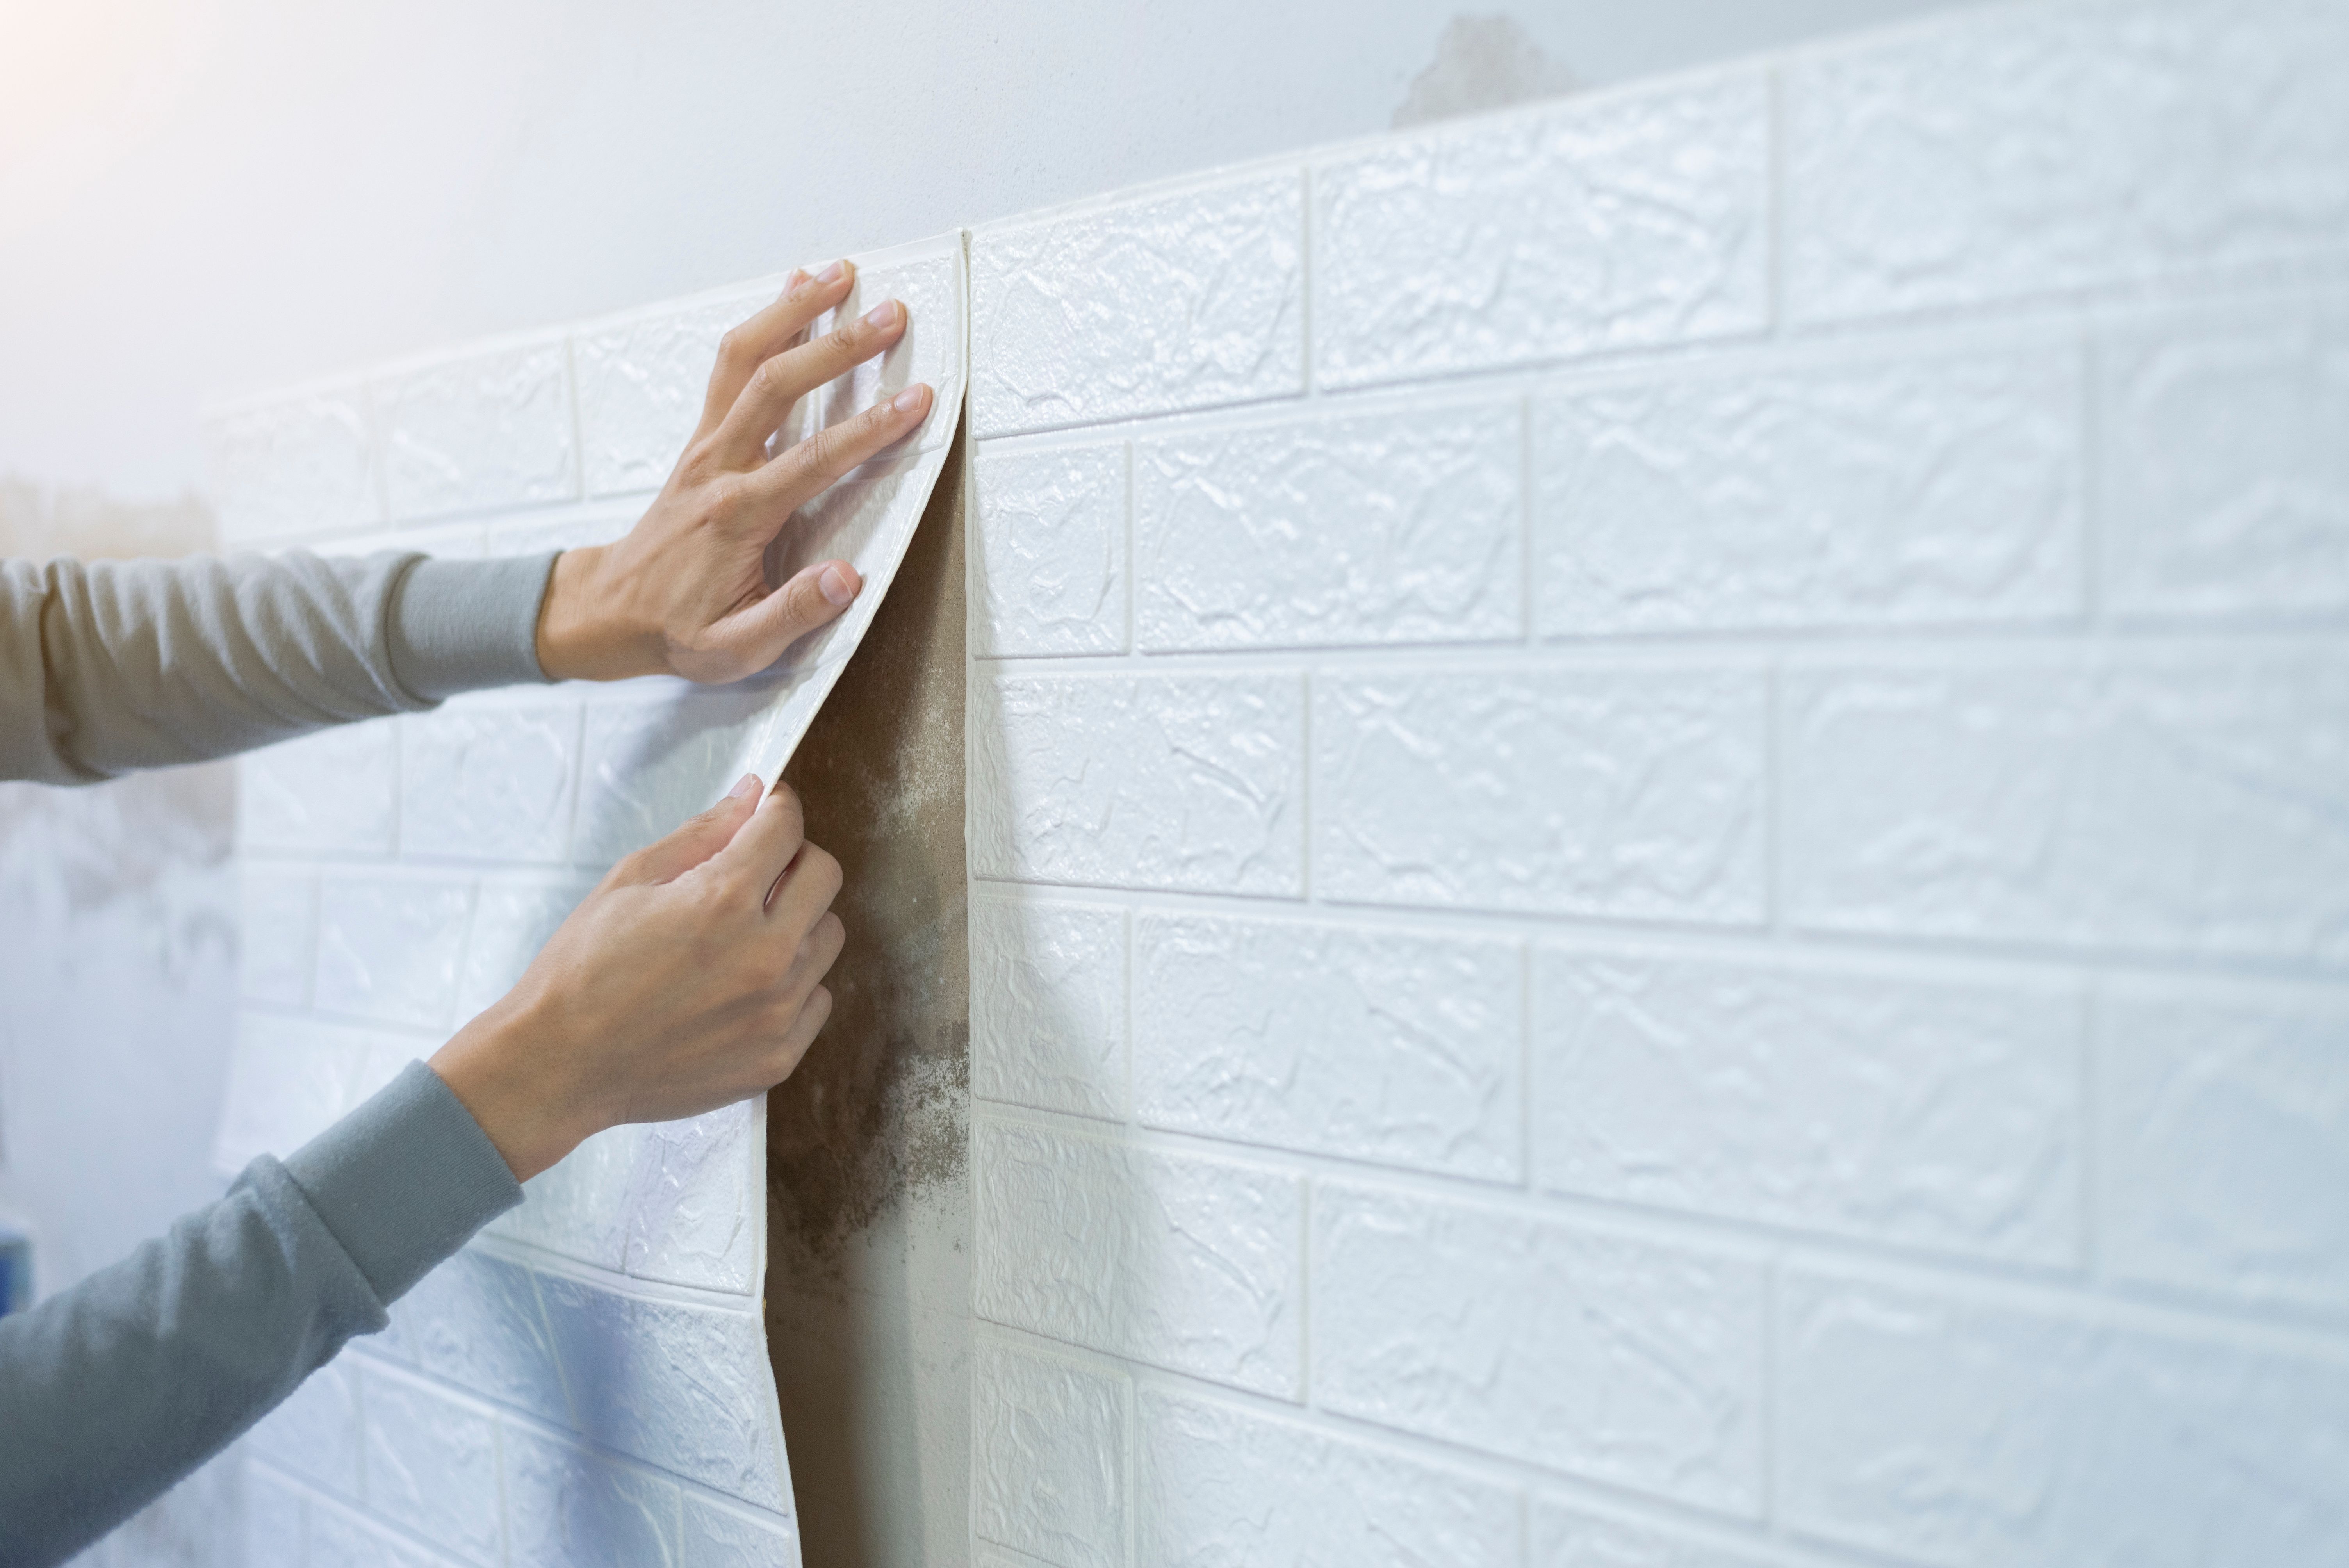
Installing New Wallpaper
Begin by cutting your wallpaper into strips that match the height of your walls, leaving an extra inch at the top and bottom for adjustments. Apply adhesive to the back of each strip if it's not pre-pasted. Carefully align the first strip with a plumb line drawn on your wall to ensure straight application.
Smooth out air bubbles with a wallpaper brush or smoother as you go along. Continue to apply each subsequent strip, making sure patterns or seams align perfectly. Trim excess paper at the top and bottom for a neat finish.
Final Touches and Maintenance
After installation, allow the wallpaper to dry completely before replacing furniture or decorations. Regular maintenance involves dusting or gently wiping with a damp cloth to keep your walls looking fresh. For stubborn stains, refer to care instructions specific to your wallpaper type.
By following these steps, you can achieve a professional-looking finish that rejuvenates your living space with new wallpaper in Harrisonburg.